June 28, 2024
How to paint a cat in watercolor wet-on-wet
To paint a cat in watercolor wet-on-wet, first lay a wash to set the base, then paint the cat into it with a small brush in a quick gesture: 2 or 3 strokes for the head and the body. Load the brush with a lot of pigment and a lot of water from the start, and don't go back over it. If you want to add an ear afterwards, use a brush loaded with pigment but dried, so the pigments don't spread.
How do you prepare the first wash?
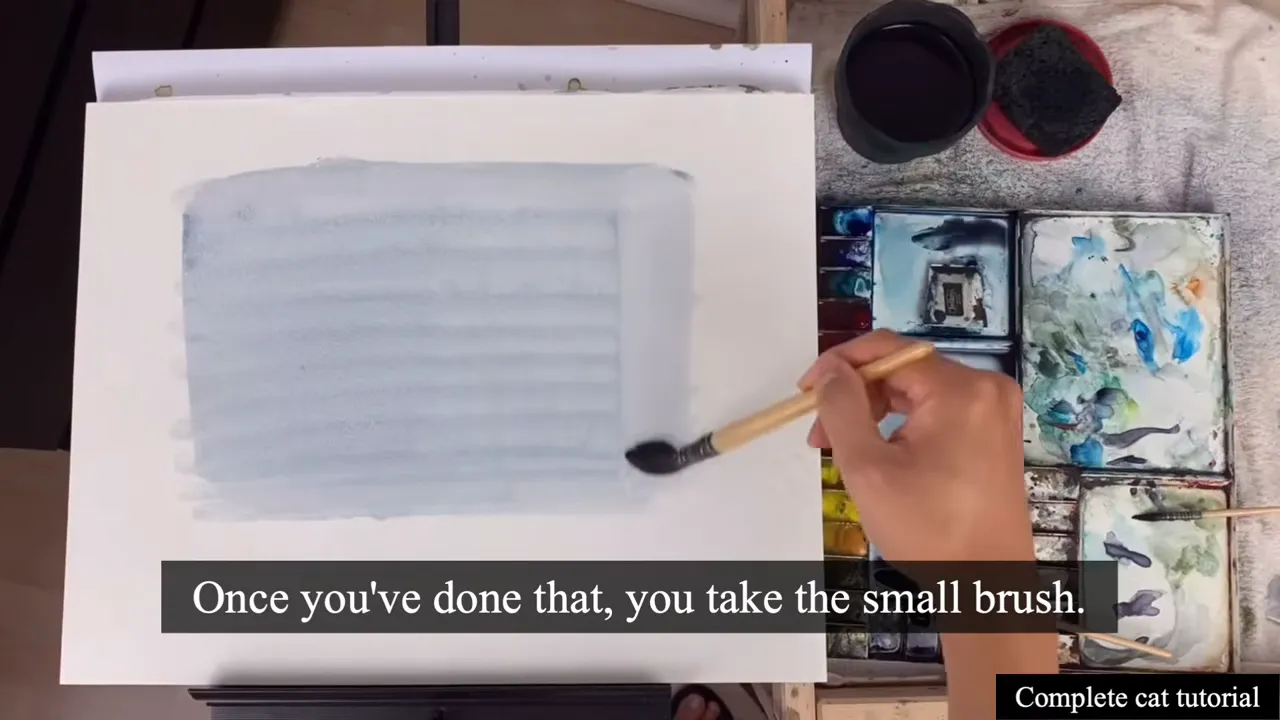
I only work on one area. I start with a first wash to set the base, then I even out the amount of water on the wash. Once you've done that, you take the small brush.
If you work on a quarter sheet, you can use smaller brush sizes.
How do you paint the cat itself?
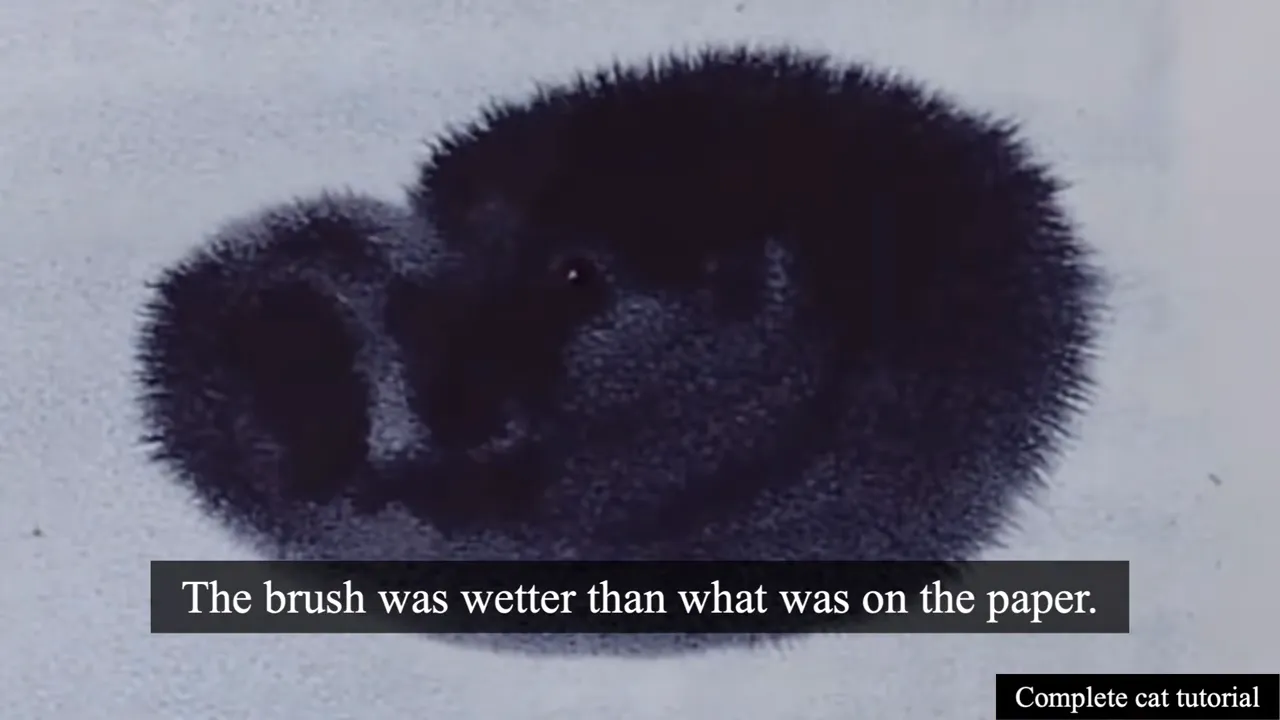
I paint directly into the wet base: first the head, then the body.
As you paint, the color starts to diffuse by capillarity. That happens because the brush is wetter than what is on the paper. So it needs to be a quick gesture. With 2 or 3 strokes, I drew the little cat.
Why shouldn't you go back over the cat?
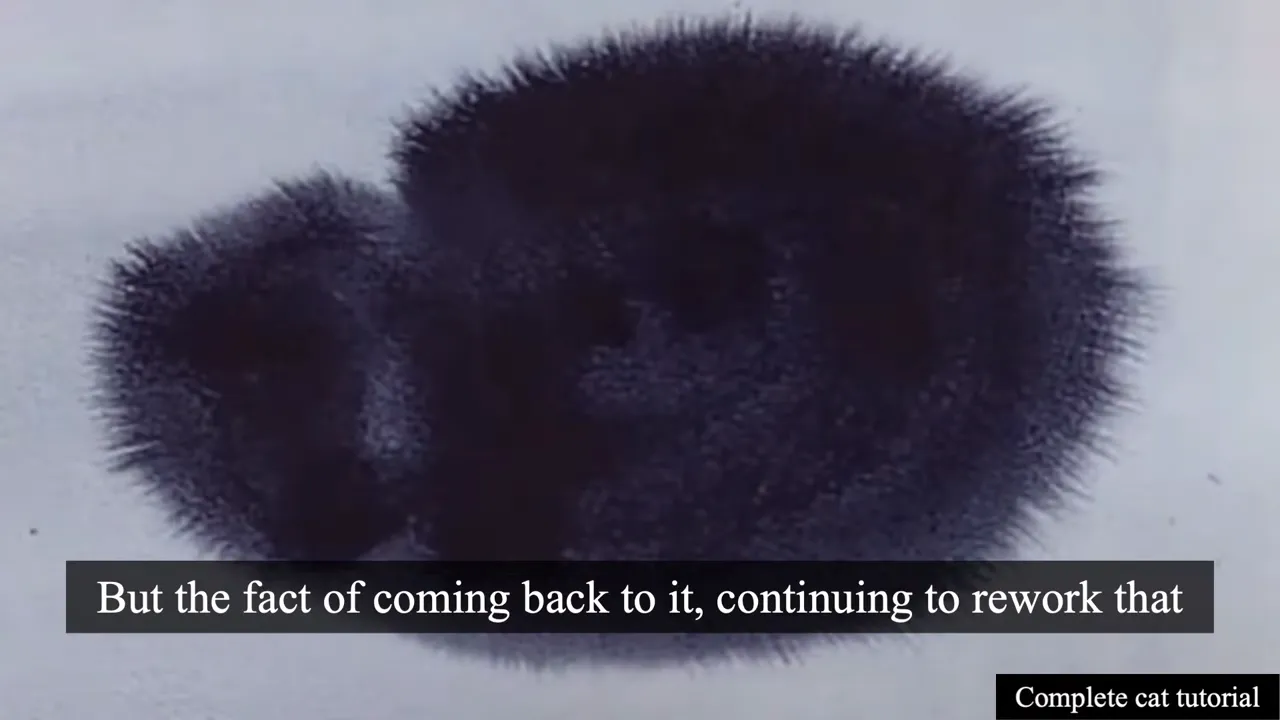
What you should avoid is going over it multiple times. That's why there should be a lot of pigment and a lot of water from the start: it will lighten as it dries anyway. In my demonstration, I could even have added more pigment.
If you keep coming back to rework the area because you want it a bit darker, you take a risk. The peripheral area dries, the area inside dries too, and the color you keep adding can spread. When it spreads onto a dry part, it can create a bit of a halo effect. So be careful about that.
How do you add an ear without the color spreading?
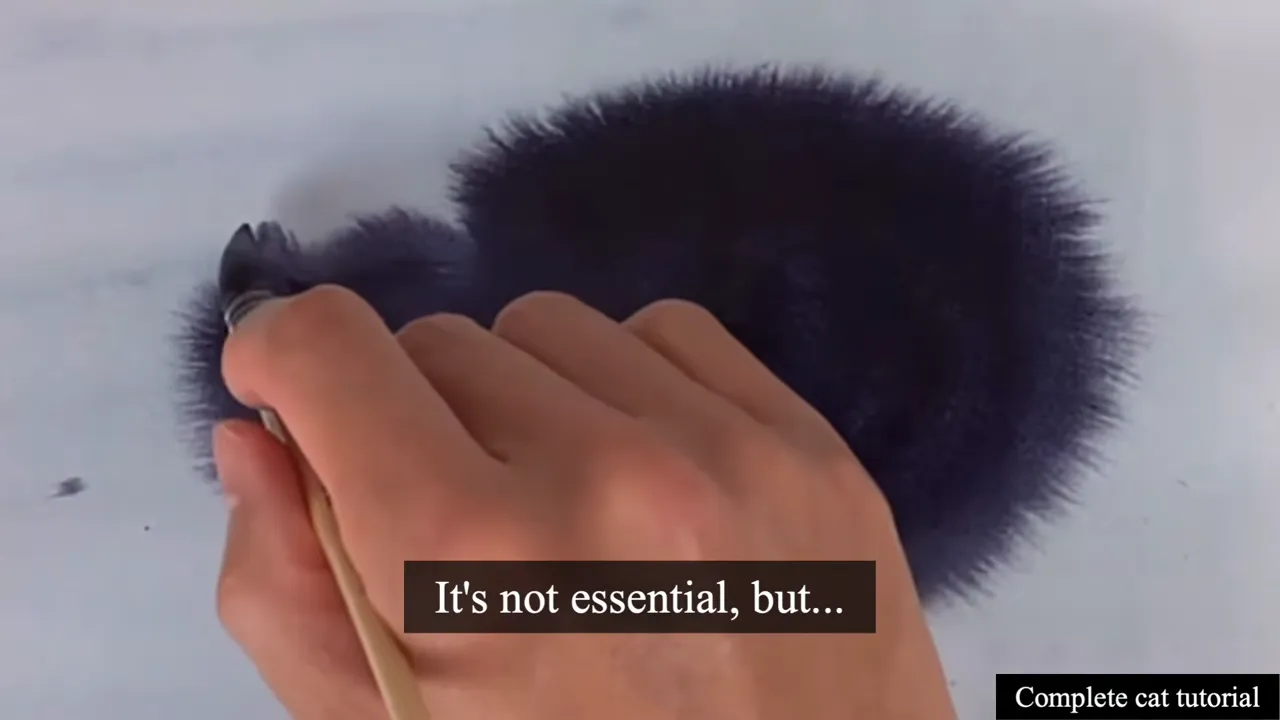
If you want to add an ear, take your brush loaded with pigment, dry it, and then add a little ear. It's not essential, but you can do it.
The important thing here is that your brush should not be wet. If it's too wet, you will put water on the paper and it will make the pigments spread. In my demonstration, I think my brush was a bit too wet.
What does this exercise teach you about wet-on-wet?
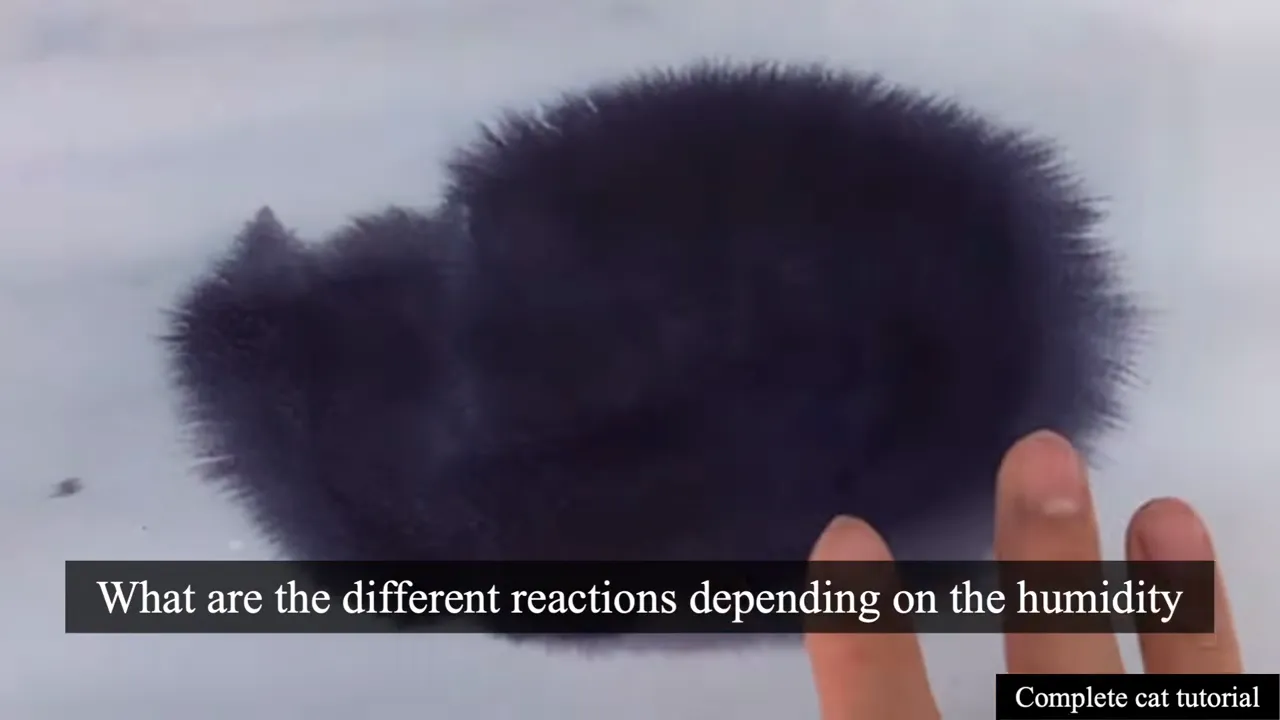
It's an exercise that is still quite technical, but it's meant to be fun, because it's more about exploration. It's about observing reactions with the wet-on-wet technique.
Once you've done it, you can test variations:
- Add a little more water to the base, your first wash.
- Use much less water in the base.
- Use less water on the brush.
- Use more water on the brush.
This lets you see the different reactions depending on the humidity in the first wash and the moisture on your brush. That's why it's an excellent exercise for starting to understand the possibilities of the wet-on-wet technique.
FAQ
Why does my wet-on-wet cat spread on the paper?
The color diffuses by capillarity whenever your brush holds more water than the paper. For a small detail like an ear, dry your loaded brush first so you don't bring extra water.
Why do I get a halo around my watercolor cat?
A halo appears when color spreads onto a part of the paper that has already dried. Reworking the same area again and again is what gives the edges time to dry.
Why is my cat too pale once dry?
Watercolor lightens as it dries. Be generous with pigment on your first strokes rather than planning to darken the cat later.
If you want to finally create on your own, with a proven system instead of copying tutorials, this is exactly what you'll find here 👇
Discover The Loose Watercolor System